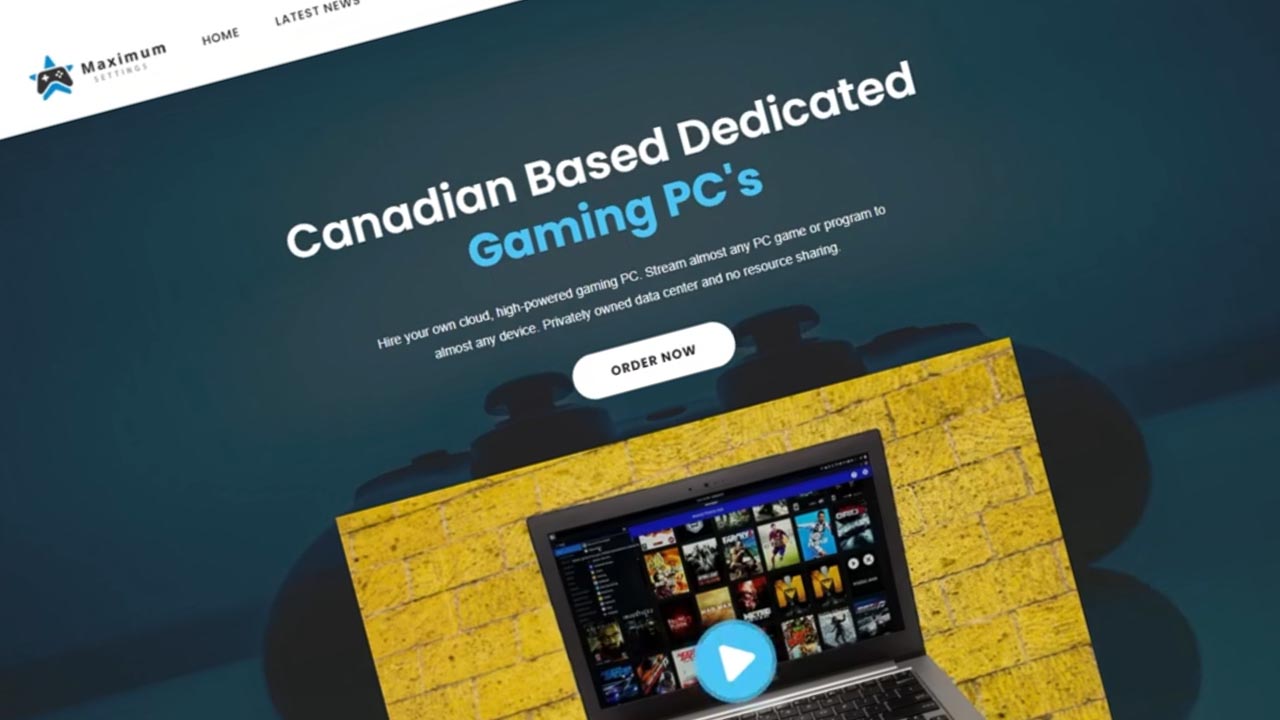
Maximum Settings is a cloud gaming service based in Toronto, Ontario, Canada. We designate Maximum Settings as a PC rental service similar to Shadow PC. A cloud PC rental service like this is a dream for PC gamers who want to use and play a top-notch PC anywhere they go without actually taking their hardware with them.
In this video, we’ll go into the details on how to get setup and started with Maximum Settings on the PC. Let’s jump in!
Signing Up
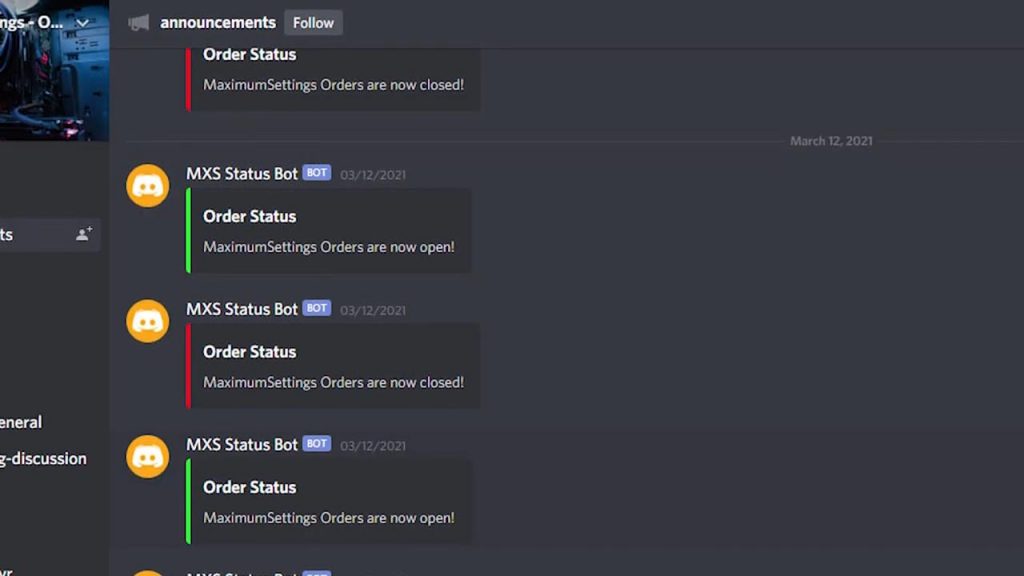
Signing up for a Maximum Settings PC is easy to do. It’s the PC availability that is hard to get. To keep on top of when Maximum Settings will open availability to purchase PCs, you’ll have to check their Discord to see when they post open PCs in their announcements tab. Good luck in this endeavor. Availability goes very fast.
Starting Your Cloud PC
If you are lucky to get access, logging in and starting your cloud PC takes a couple steps but is easily done within a couple of minutes.
Once Maximum Settings sends you your login credentials, go to the Login page to sign in. You will be able to turn on your cloud PC from here. This is where you will see your cloud PC status as well as the options and data for it.
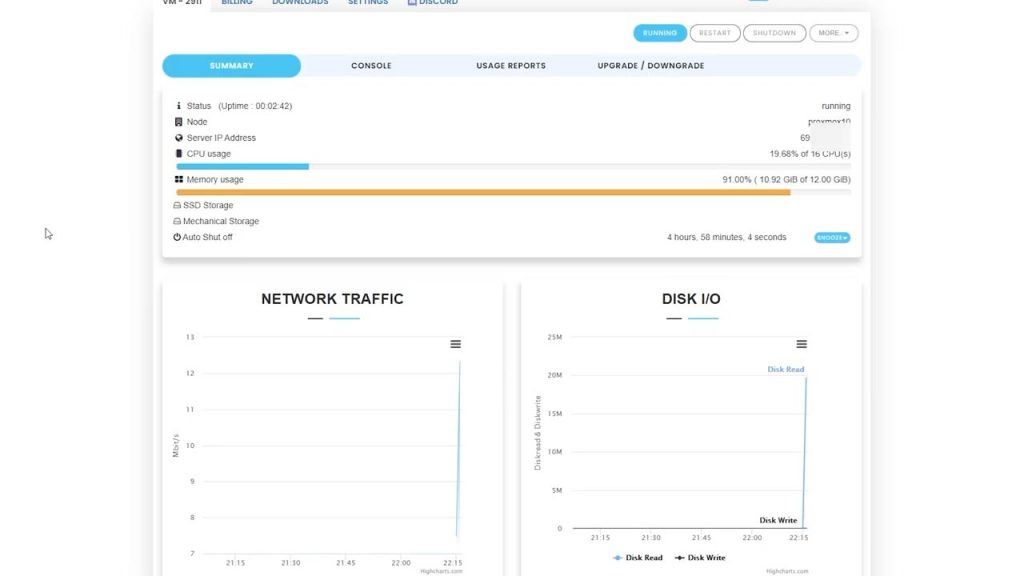
The Summary screen tells you whether your cloud PC is on, the IP address of your cloud PC, the CPU usage, Memory usage, and graphs of traffic and disk data usage. The most important attribute for you to remember is the cloud PC IP address. I recommend you keep this handy because you will need this later to connect the desktop app to your cloud PC.
Starting the PC Console
From the Summary screen, we are going to go to the Console tab to start your PC. The Console screen isn’t necessary to start the cloud PC but the Console screen is where you can controller the cloud PC remotely so we can set it up on your desktop.
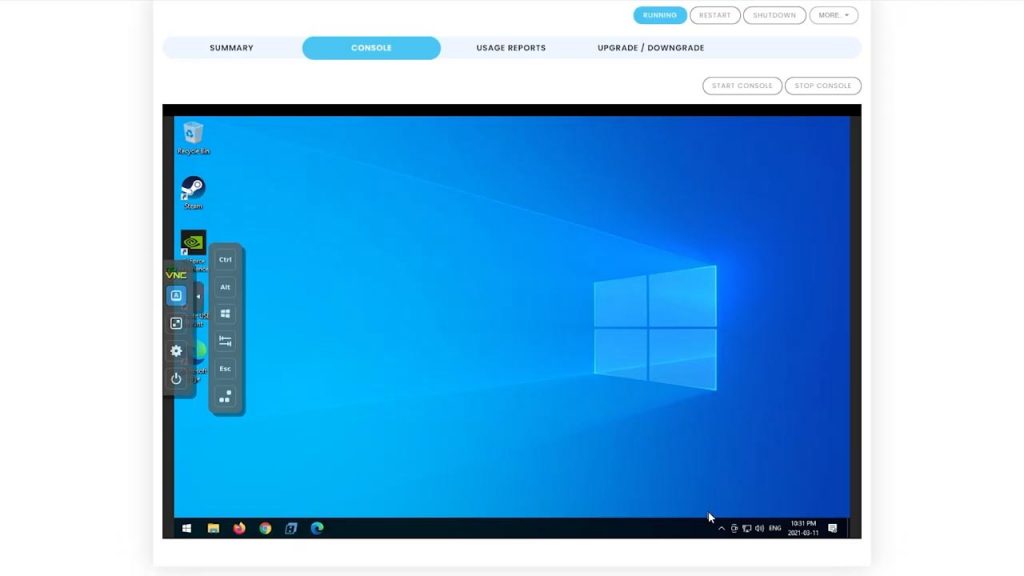
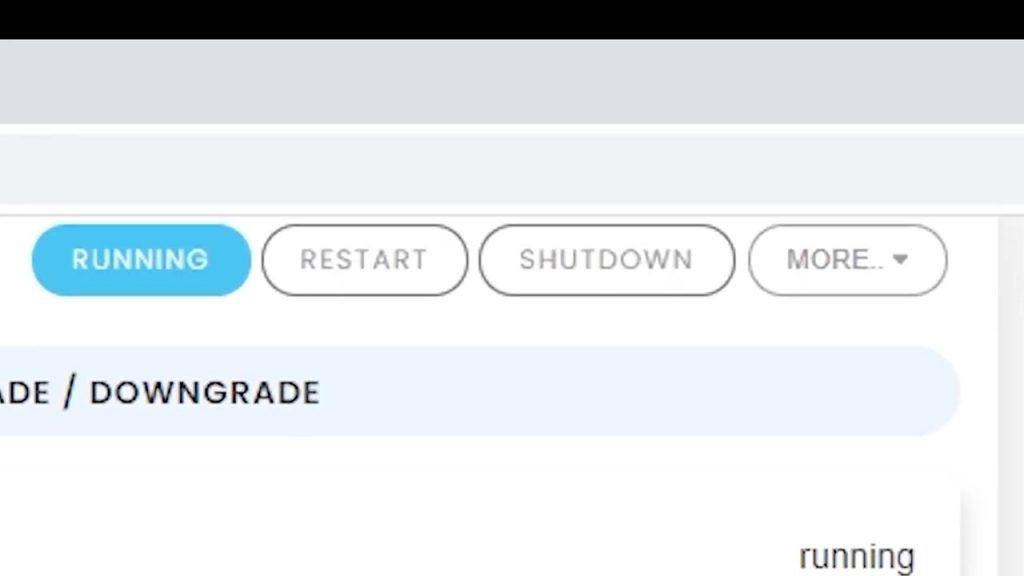
Hit the Start button or Start Console button to turn on your cloud PC. Hitting Start Console will start both the Console and the cloud PC. Start up the cloud PC and having the console activate took quite a bit of time around so be patient. You can check to see if your PC is running if the Startup button now says “Running”. You can check on the status of the server if you go back to the Summary page.
Once the cloud PC and Console turn on, you should be able to see and use your cloud PC through this small console window. Also, a popup from NVIDIA Shield on the GeForce Experience app should be requesting some info. Do not close this box. You’ll need this to link your Desktop app to your cloud PC.
Installing the Moonlight App
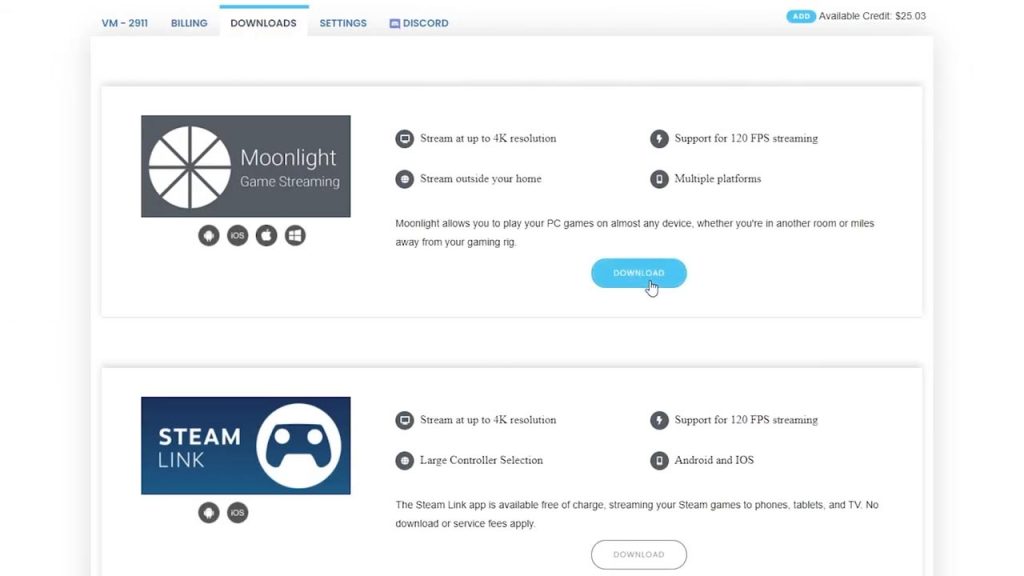
To use your cloud PC on your desktop, you will need to download the Moonlight app. Go to the Downloads tab and hit the download link for the Moonlight Game Streaming application. This will link you to the GitHub page for this application where you can choose the download that is right for you.
Most Windows PC users are going to use the Windows Installer link at the very top. I have Windows 10 so I will use this option. Download it and run the install on your Windows machine. Before you leave this screen, I highly recommend you jot down or memorize the Keyboard shortcuts on the page so you can get in and out of your cloud PC easily.
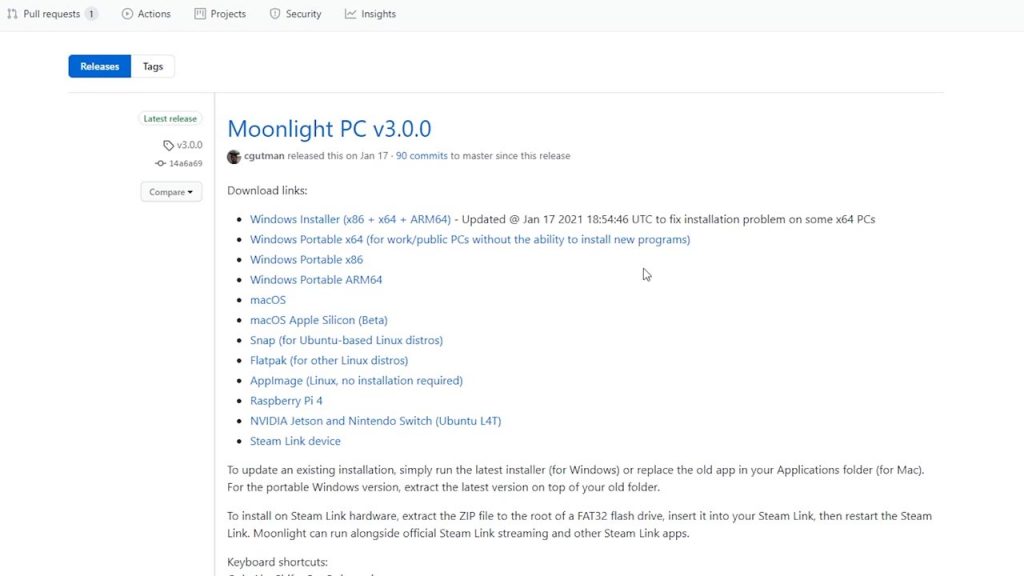
Once the install is complete, the Moonlight application should be useable on your PC. Once you open it, the app should be searching for computers to connect to on default. You will have to add you cloud PC manually but first, let’s check out the Settings to ensure a good connection.
Moonlight Settings
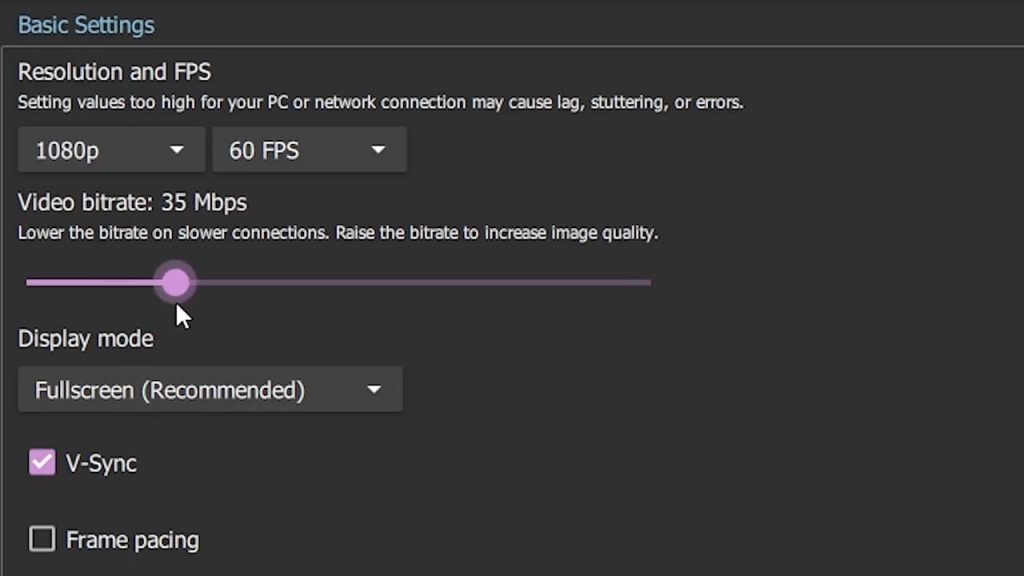
Hit the cog icon on the top right corner of the application. I did change my resolution and FPS but the majority of these settings are fine out the gate. The setting you will need to change the bitrate to make sure you are getting the best video quality from your connection. This will depend on your internet download speed. If you don’t know your internet download speed, run a quick Google speed test to see how fast your internet is. Find out your download MBPS number and set the bitrate just under this value to ensure a clean connection.
Adding your Cloud PC on Moonlight
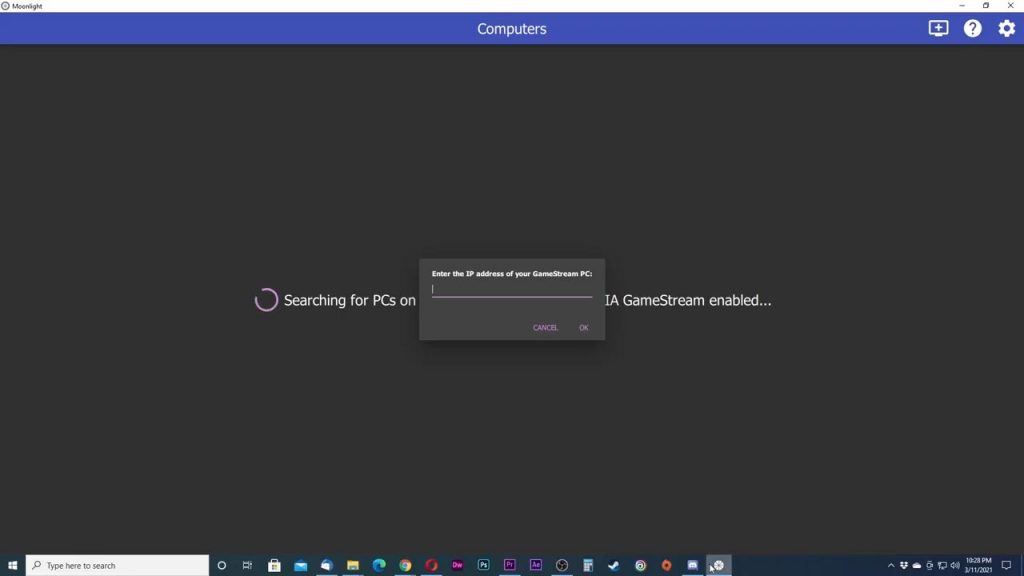
Close out of the settings page and hit the PC plus icon in the top right corner. This will start the process to add your cloud PC to Moonlight. It will first want you to add the IP address of your cloud PC. Now is the time to enter it here from your Maximum Settings login dashboard I as mentioned previously. If you were logged out, log back in to retrieve this if necessary.
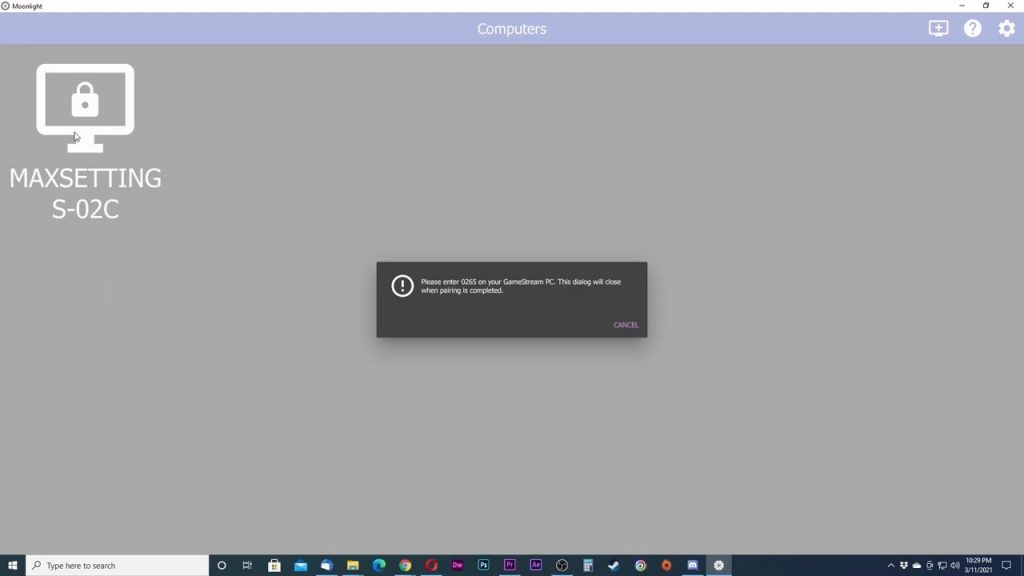
Your Max Settings PC will be added to Moonlight and you will need to pair it while logged in for security reasons. The prompt will give you a number for verification. Copy that number and go back to the Maximum Settings login, go to the Console page, and start the console again if it’s not already on.
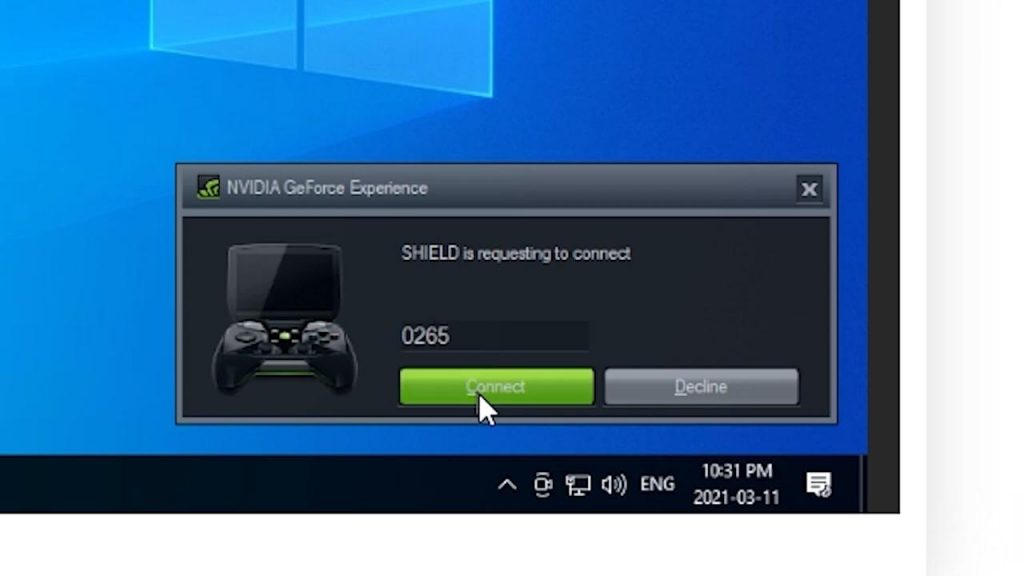
Here is where you will enter the information that the NVIDIA Shield is requesting. Put in the number to complete the pairing. Now your cloud PC should be usable through Moonlight.
Close the Console! Your desktop session will have a resolution of 1280×800 if you leave the Console on.
Important note: Make sure you stop the console before starting your session up in Moonlight. Your Moonlight session will have a resolution of 1280×800 if you leave the Console on.
Using Your Maximum Settings PC
Once you are back in Moonlight, you will see the “mstsc.exe” icon here. Use this to get into your cloud PC. Don’t forget your keyboard shortcuts for getting out of the cloud PC. You are now into your Maximum Settings PC. I’m sure you have also noticed that things look familiar. Your Maximum Settings PC is basically a high-end Windows PC in the cloud. As long as you have a subscription and the service is up, you can login to your Maximum Settings PC and use it.
Be aware that you do have to login and start your machine up on the Maximum Settings website every time you want to use this. Also note that Maximum Settings gives you an auto shut off time set at 5 hours. Make should you time your sessions effectively so you don’t lose progress.
Install anything you want and play like this is a PC at home!
Quitting you Maximum Settings Session
Once you are finished using your cloud PC, remember the keyboard commands. Hit Ctrl + Alt + Shift + Q to end your session and exit to your desktop. I would also login to your dashboard on the Maximum Settings website so you can make sure that the cloud PC is stopped so they don’t continue to charge you since they charge by the hour for usage.
Hit Ctrl + Alt + Shift + Q to end your session
Overview
Keep looking out for Maximum Settings PC availability if you don’t have access. They are really hard to come by at this moment. If you are a PC player, this can be a godsend in PC functionality and playability.
If you liked this Maximum Settings walkthrough, give us a like and feel free to subscribe so you can get the latest news, gameplay, and comparisons on Cloud gaming at the only place where you can do battle in gaming heaven – Cloud Gaming Battle.

