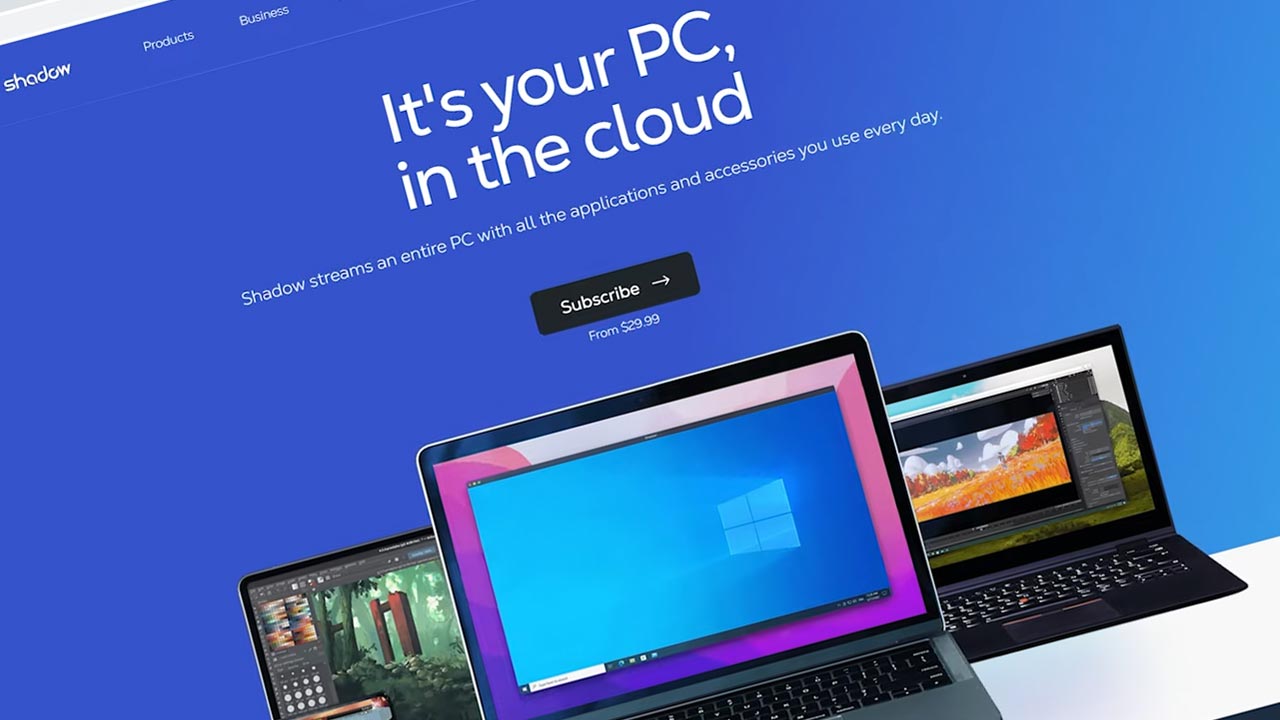
Shadow is a cloud PC service that provides a powerful Windows PC that you can access remotely from the cloud. They are widely known in the industry as one the leading cloud gaming PC services on the market. They offer their own app built in-house to provide access to their cloud PC for nearly all devices. And with their newly upgraded gaming tier – the Power Upgrade, Shadow can run most of the latest games with ease. Looking to get setup with Shadow? Let’s get started.
Choosing Your Shadow Machine
Before we get started, there are other products Shadow is rolling out with including Shadow Drive and Shadow Business Solutions but in this tutorial, we‘ll be focusing on the gaming products of Shadow.

Hit the button ‘Subscribe’ to get signed up for a Shadow machine. It will want to you to put in your zip code to find the best data center for you based on your location. Be aware that Shadow is currently only available in North America and most of Europe.
If Shadow is available to you, you’ll have the option to choose the base Shadow machine or the new Shadow Power. The base Shadow machine has hardware equivalent to a gaming PC with a GTX 1080. The new Power Upgrade has more up-to-date hardware equivalent to gaming PC with an RTX 3070. Choose your tier and any additional storage you want for your machine for game installations. Hit continue to move on.

Creating an Account
They will want you to login from here. You’ll need to sign up for an account to purchase your Shadow machine. Once you create and verify your account, you’ll be redirected to billing.
Completing your Purchase
You’ll need to fillout your personal and billing information and continue. Now you’ll choose a payment method for purchase. They only offer credit or debit card as of now. They said they would be adding PayPal soon. Also, if you ever received a coupon code, enter it in the field under the total. Enter your payment information and hit Pay.
Once the purchase is complete, you’ll see this confirmation screen. They will send you and email when your machine is ready which takes about an hour.
Installing the App
Now is a good time to download the app for your desired device. In this case, we’ll be using the Windows 10 app. Hit the download link on the confirmation page to go to the Downloads page to get the link to the app.

The page will have the version that is most suited for you at the top. Click to start the download and install the app on your computer.
Using your Shadow PC
Once your app is installed, you’ll have to login with your account credentials. It will have you login to your account through the browser. Once you are logged in to the app, you’ll be able to start your cloud PC once you have received your email stating your PC is now active.
Starting your PC will take about a minute or so. The PC is ready to go once the button is fully loaded. Click the button to launch your Shadow PC. Now you are able to use your Shadow PC as you would with any other Windows PC.

Quick Menu
One of the most important things to know about how to use your Shadow PC is the Quick Menu. The Quick Menu is the gateway to your Shadow PC’sconfigurable options and the gateway out of your Shadow PC. You can access the Quick Menu by hitting the Shadow logo at the top or by hitting the Keyboard shortcut with keys WIN + ALT + O.
The first thing you will notice about the Quick Menu is the wonderful feature of the usage stats that are displayed in real-time on the right-hand side.
Next, you’ll see that you have connection options at the top of the menu. These options include exiting and entering fullscreen, releasing the cursor out of Shadow, restarting your stream, closing your stream, and shutting down your shadow PC.

The list menu on the left hand side allows you to configure your video displays, audio settings including your microphone, gamepad controllers, and any other USB devices you may have. The network tab allows you to configure your connection bitrate settings to maximize or limit bitrate depending on your internet connection needs. You can also have Shadow automatically adjust the resolution based on your native resolution or you can apply custom resolution settings. Configure the best settings for you based on how you want to play on Shadow.
Installing Games
Your Shadow machine is a Windows machine in the cloud so to start playing your games, install them as you would on your home PC from third party game providers like Steam, Epic Games, and Battle.net, etc. This would include Xbox Game Pass games from the Xbox app. Feel free to install any other programs that you want to use on your Shadow PC.

Shutting Down your Shadow PC
Once you are done using your Shadow machine, use the Quick Menu to either close your stream or shutdown your Shadow machine completely. This will back you out to the Shadow PC launcher where it will show your machine shutting down. If you hit the close streaming option instead, it will warn you that it will shut down automatically after being idle for more than 10 minutes.
Once you are with your session, Shadow will ask for feedback then give you a code to use to use to send to your friends if they want to signup too.
Shadow Launcher
On the launcher, you will notice that it has the same options as the Quick Menu. Feel free to configure your settings here before you log back in to your Shadow machine.

Overview
That ends this tutorial. Overall, Shadow has been a leader in the cloud PC rental industry for several years due to its high quality and accessible service. Now since they have a couple of options for your gaming PC with the addition of the Power Upgrade, you’ll be able to choose the right cloud gaming PC for you.


