AirGPU is a cloud PC Rental service located in the Netherlands and founded in 2020. Their goal is to bring low-latency cloud gaming without restrictions to all parts of the world. As of now, they currently offer different tiered cloud gaming PCs, primarily with Amazon Web Services across the world, including their own servers in Amsterdam.

We’ll go over setting up your own powerful cloud PC with AirGPU on a Windows PC. Let’s get started.
Signing Up
The first this you’ll need to do is signup for an account. You’ll hit the Get Started button to signup. Fill out the form and once you have an account, login with those credentials. The first page you will come to is the Create a Machine page.
Create a Machine
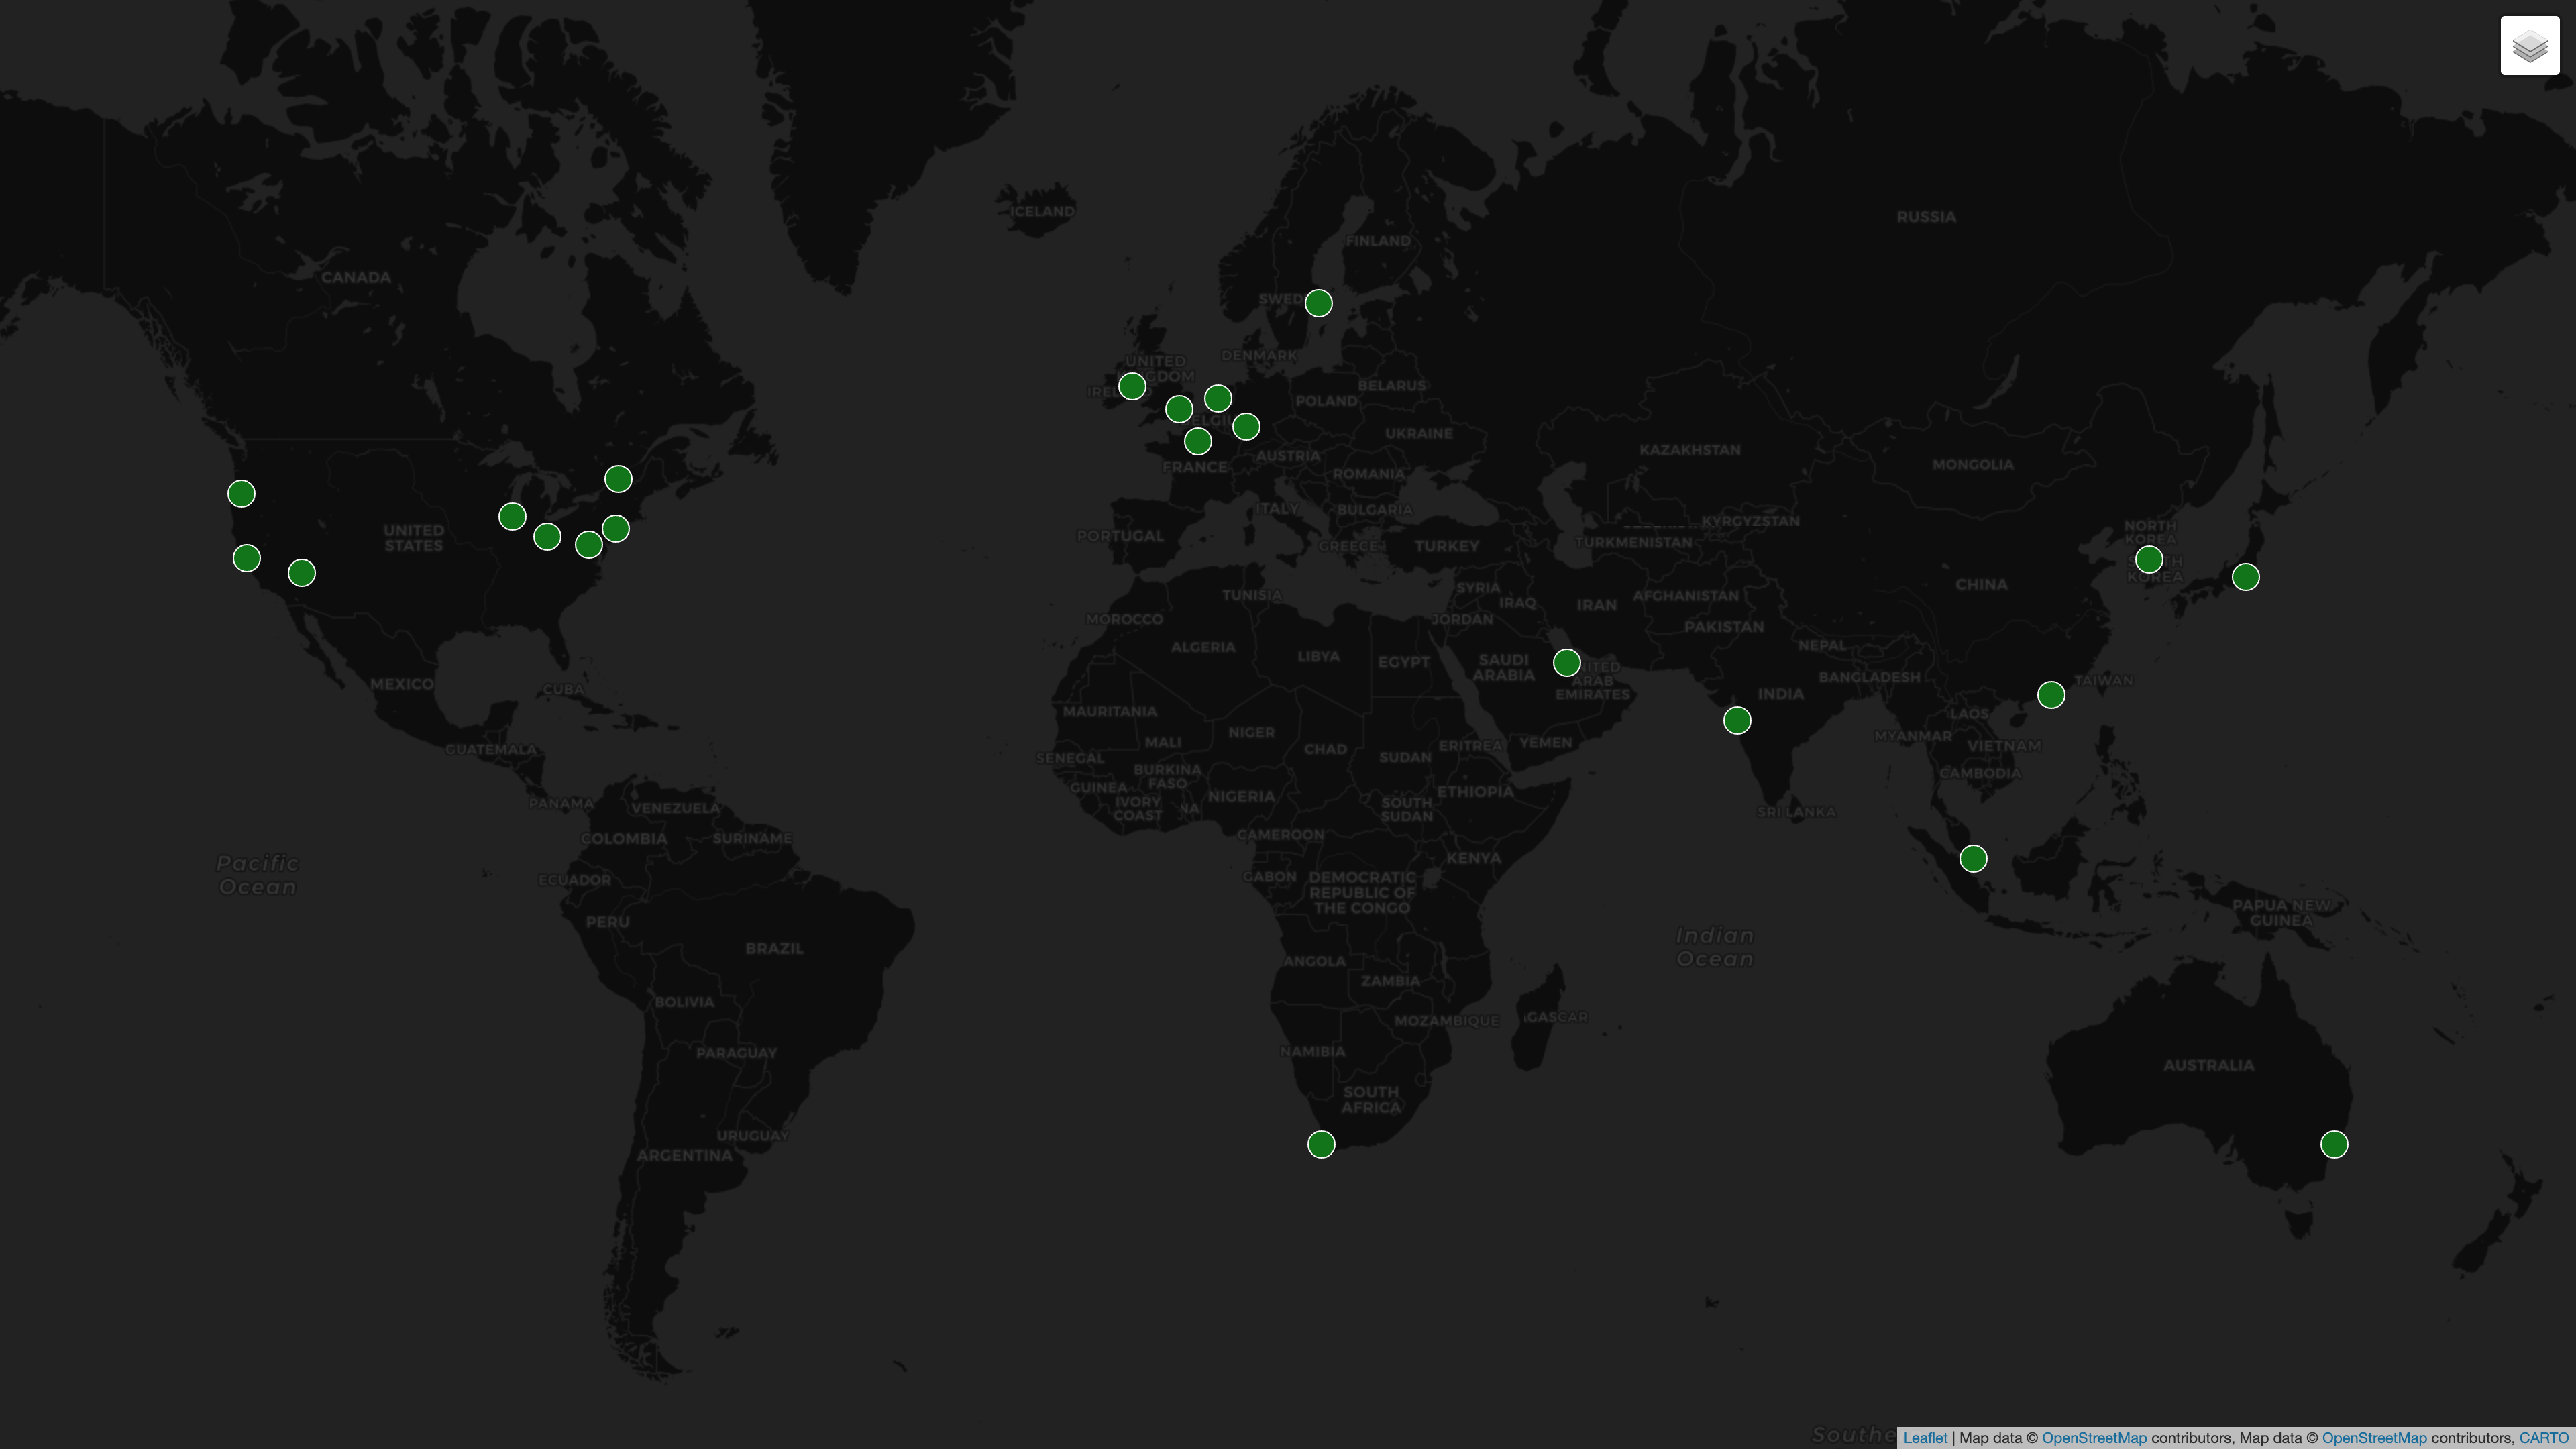
This is where you will make your cloud PC based on your circumstances. Choose your location and the machine configuration you want. Hardware availability will vary by location. Also, it is recommended that you choose a location that gives you low latency so you’ll have less delay. Generally, anywhere in the green is good latency.

Choose your streaming quality and the storage. Be aware that the hard drive space you choose is an additional price per month. The higher the capacity the more it is per month.
Also choose your Operating System. Choosing the Windows 10 option will require a separate Windows key.
Once you are done with your machine configuration, hit the “Create machine” button and your virtual machine will be created under your account with the details of that machine.
Adding Credit
AirGPU is an hourly credit-based platform, so to use your machine, you need to purchase credit. Hit the “Add credit” button to add credit to your account. You can also do this by going to the Account page by hitting the person icon on the top right.

Once on the Account page, I suggest verifying you account through email first. Look for the email sent to you when you created your account or have it resent. Click on the link in the email to verify.
Once your account is verified, choose the credit amount you want under the Credit section. Hit “Purchase” to start the payment process.
A Paddle.com purchase window will appear to confirm your order and location. Once you hit continue, you’ll be given the option of paying by Credit Card, PayPal, or Google Pay.

We have a coupon code to get 10% off your credit with the code: CGBATTLE. Hit the “Add Coupon” button to enter and apply it. Or if you hit the link in the description below, the coupon will be added automatically when you signup for your account.
Choose your payment method and complete your purchase. Your credit should now be reflected in your account. Hit “Back to Dashboard” to get access to your machine.
Starting and Connecting your Virtual PC
Now to start your PC and connect to it. Hit the “Start” button to get your machine initialized and running. This may take a few minutes depending on location. The window may refresh several times. Once the app says the status is “Running” and the button at the bottom says “Stop”, your machine is officially up and ready to connect to.

You can connect with popular streaming apps Moonlight or Parsec to play your games. Recently, AirGPU added easy connection functionality for Moonlight on all of their machines so we’ll connect with the Moonlight app. If you need Moonlight, go to the Moonlight site and download it for your device.

Hit the “Connect to Moonlight” button. This will open up a dialog box with your cloud PC link. Leave this box up and hit the copy to copy your PC link. Open your Moonlight app, hit the Add PC button and paste the PC link in the dialog box. Now there should be an AirGPU PC on your Moonlight dashboard with a lock. Click on that new PC and new dialog box should appear with a 4-pin code. Remember that code and go back to the AirGPU website and put in that 4-pin code. Hit the “Connect” button to unlock your PC on Moonlight. I highly recommend you set the correct streaming settings before you connect. I am running this machine at 4K and with a bitrate of 45 mbps. Go to the cog on Moonlight and you should do the same based on your machine configuration.

Click on the now unlocked PC in Moonlight and hit Desktop and you will now have full access to your cloud PC. AirGPU has preinstalled Steam and the Epic Games Store along with a program to update your GPU drivers if need be.
If you are new to Moonlight, I recommend reading their documentation but more importantly, here are the keyboard shortcuts for using Moonlight.
First you can hit Ctrl+Alt+Shift+S to open the performance stats overlay in the top left corner. Ctrl+Alt+Shift+X will toggle between full-screen and windowed mode. And most importantly, Ctrl+Alt+Shift+Q will quit the streaming session. Are a number of other shortcuts as listed here.
Remember, you can still use Parsec to stream if you want. If you are looking to connect with Parsec, see our old Getting Started Guide here at timestamp 2:20. Link in the description.
Stopping your Virtual Machine
Now don’t forget to stop your PC when finished. Your PC will stay on and use your credit until hit the “Stop” button under your machine on the AirGPU website. When you hit Stop, the machine will shut down and run a process to save your cloud storage. You can leave the site during this. Your machine will continue to do this even if you close the site. Please note that to start your machine up again, the saving process needs to complete. The process is done once the Status says Off and you may restart your machine.

You also have the option reconfigure your machine if your location can support it. Click on the three dots on your machine and reconfigure CPU, RAM, streaming quality and storage. You can only do this when the PC is Off. The 3 dots menu will also allow you to delete your machine which will forward back to the Create a Machine page.
Overview
Overall, if you have the money to spend on a quick and easy cloud PC that can range to the power of your choice, AirGPU is right where you need to be. With AWS backing the majority of the AirGPU infrastructure, you can almost guarantee good performance.


