Airgpu is a cloud PC Rental service similar to Shadow and Maximum Settings based in Utrecht, Netherlands. Founded in 2020, their goal is to bring low-latency cloud gaming without restrictions to all parts of the world. As of now, they currently offer different tiered cloud gaming PCs in 15 data centers across 4 continents including North America, Europe, and Asia Pacific.
In this video, we’ll go into the details on how to get setup and started with AirGPU on the Windows PC. Let’s catch some air!
Signing Up
AirGPU is currently in open beta which means you can sign up for your machine through their site right now. Sign up for an account and then you can choose the machine that is most suited for you.
Create a machine
Choose your location, the machine configuration you want and is available in the location you chose. Please note that not every location has every tier available. Choose your streaming quality and the storage.
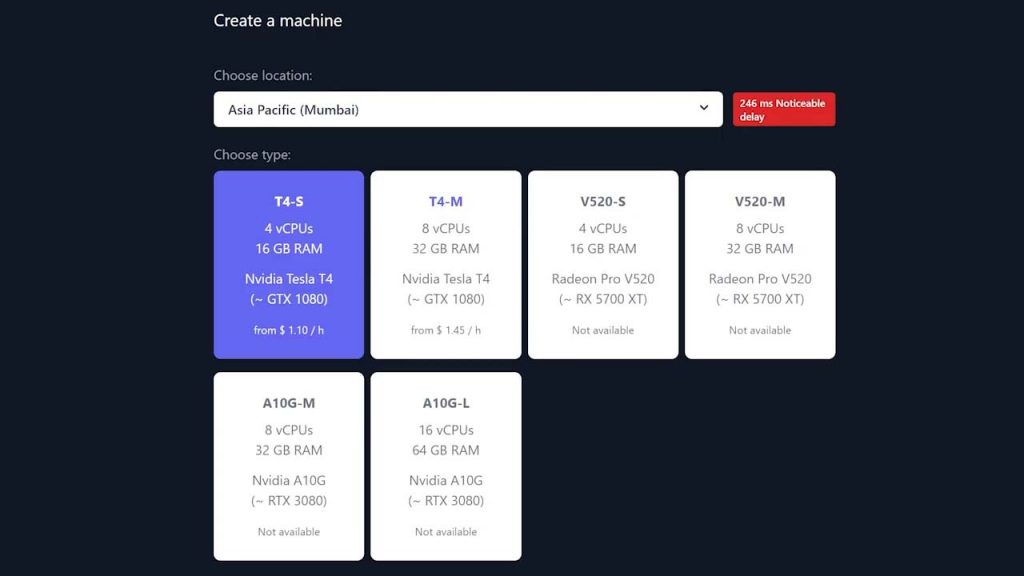
Be aware that the hard drive space you choose is an additional price per month. The higher the capacity the more it is per month.
Hit the “Create machine” button and your virtual machine will be created under your account with the details of that machine.
Adding Credit
AirGPU is an hourly credit based platform, so to use your machine, you need to purchase credit. Hit the “Add credit” button to choose the credit amount you want. Hit “Purchase” to start the payment process.
A Paddle.com purchase window will appear to confirm your location and give you the option of paying by Credit Card, PayPal, or Google Pay.
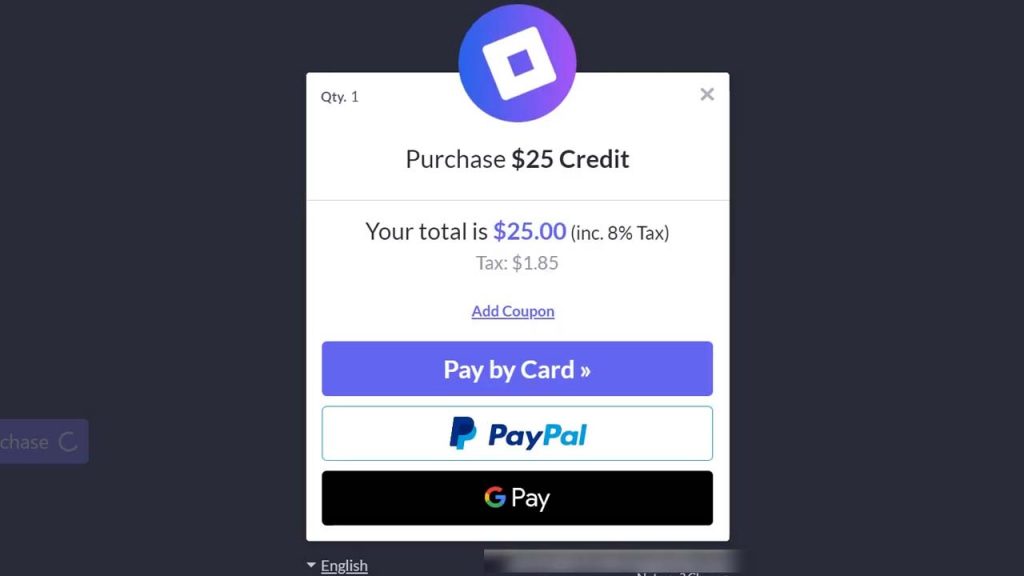
We have a coupon code to get 10% your credit with the code: CGBATTLE. Hit the “Add Coupon” button to enter and apply it.
Choose your payment method and complete your purchase. Your credit should now be reflected in your account. Hit “Back to Dashboard” to get access to your machine.
Connecting your Virtual PC
Hit the “Start” button to get your machine initialized and running. This may take a few minutes. The window may refresh several times. Once the app says the status is “Running” and the button at the bottom says “Stop”, your machine is officially up and running.
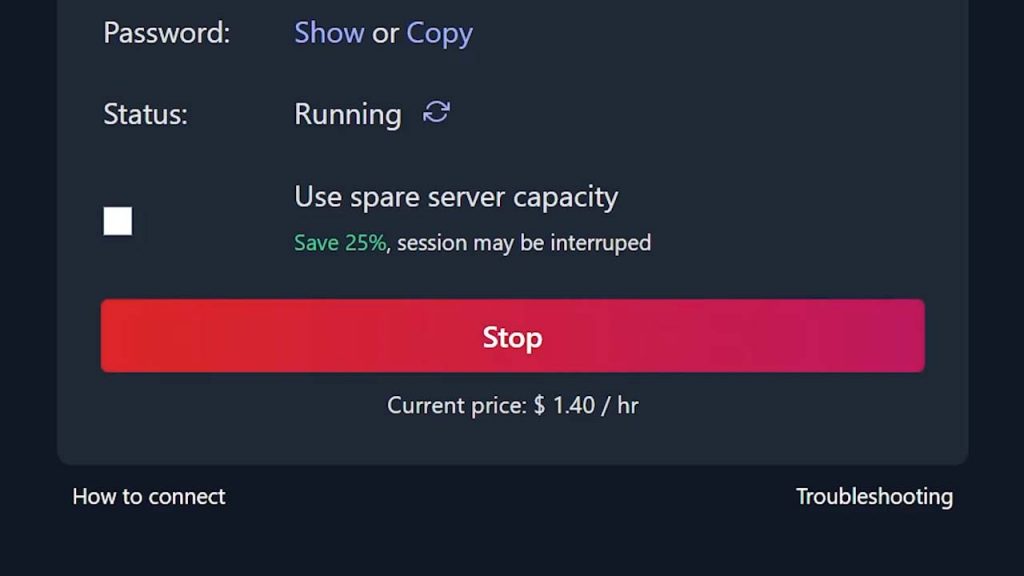
Next, hit the “How to connect” link to get the instructions on how to connect to your new virtual PC. If you don’t have streaming programs Parsec or Moonlight, install one of these programs to use your cloud PC. The links to these apps are in the description.
Connecting with Parsec
We’ll start with connecting with Parsec because it supports both NVIDIA and AMD GPU machines on default. We’ll go through these step-by-step.
If you don’t have Parsec, download it and install it. Create an account with Parsec if you don’t have one.

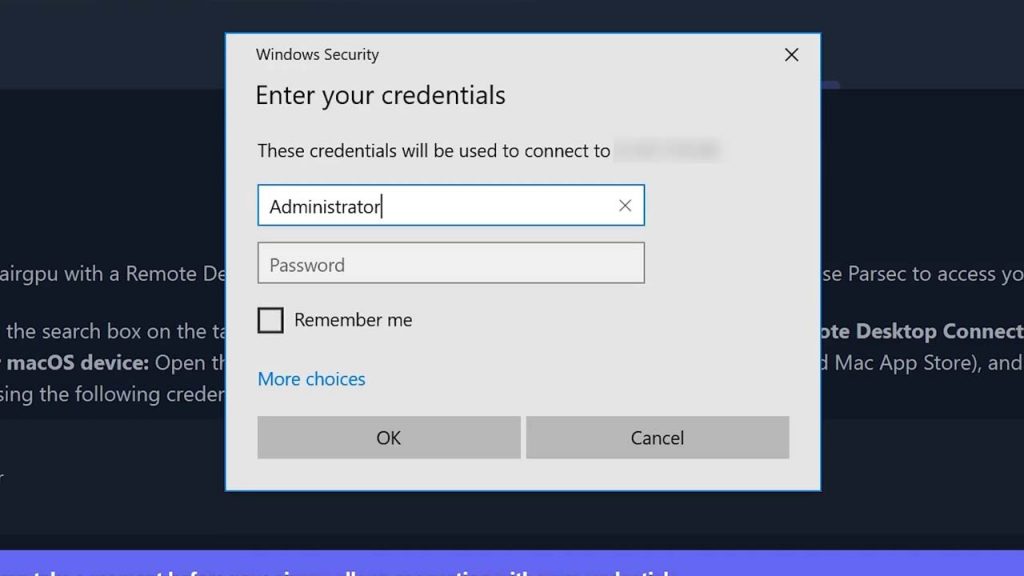
After you’ve signup and installed Parsec, we’ll first need to remote into your new machine through another method. We are using Windows so we’ll use the Remote Desktop Connection to gain access. Use the credentials on your account page to remote in here.
Start by entering you IP address in the Computer field. It will then want you to enter your credentials. It might default to your personal Windows account. Hit “More choices” and choose “Use a different account” and type your virtual PC credentials and hit “Ok”. Go ahead and trust that certificate. After this, you should be connected to your virtual PC.
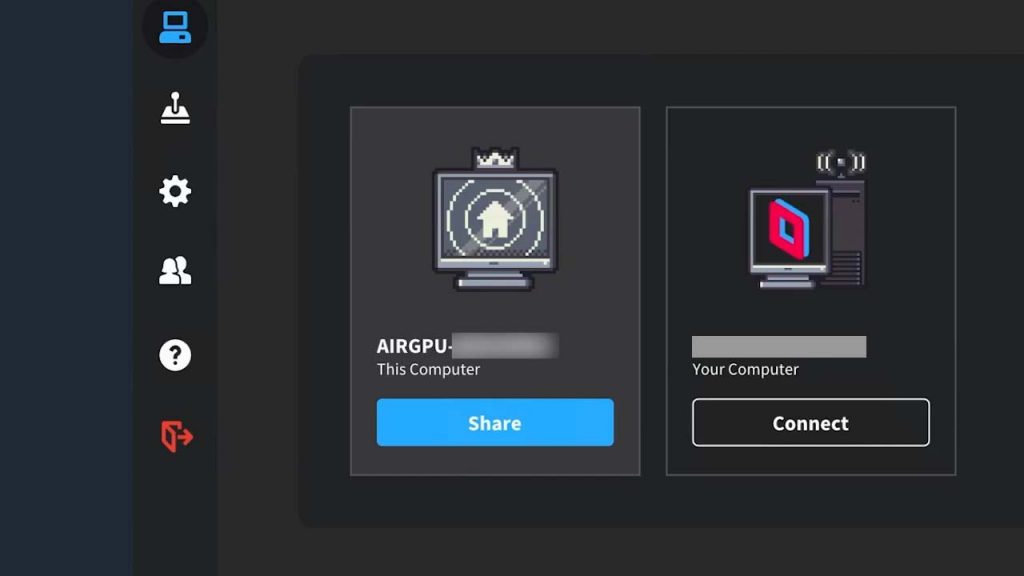
The final step is to run Parsec on the virtual PC and sign-in. You will have to verify that you have signed in through email. Once you do, your virtual PC is now connected to Parsec. Now you can close the Windows remote connection and connect through Parsec on your local PC. It will want to put your virtual machine password in one more time for clarification and you are good to go.
Connecting to Moonlight
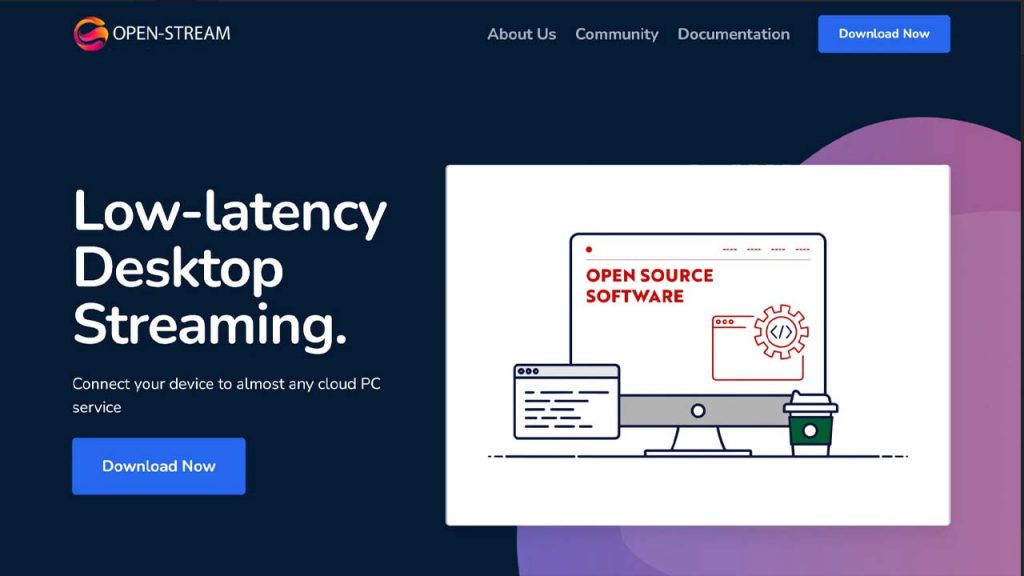
If you plan to connect with Moonlight, be aware that you need to install your own game streaming app to connect to your remote PC separate from Parsec. Feel free to install NVIDIA GameStream for machines using NVIDIA GPUs so you can pair Moonlight with your remote PC. NVIDIA GameStream will not work AMD GPU machines though. You will need to use another game stream app like Open Stream.
If you don’t have Moonlight, go to the download link and install the app. Most Windows PC users are going to use the Windows Installer link at the very top. I have Windows 10 so I will use this option. Download it and run the install on your Windows machine. Before you leave this screen, I highly recommend you jot down or memorize the Keyboard shortcuts on the page so you can get in and out of your cloud PC easily.
Once the install is complete, the Moonlight application should be useable on your PC. Once you open it, the app should be searching for computers to connect to on default. You will have to add you cloud PC manually but first, let’s check out the Settings to ensure a good connection.
Hit the cog icon on the top right corner of the application. I did change my resolution and FPS but the majority of these settings are fine out the gate. The setting you will need to change the bitrate to make sure you are getting the best video quality from your connection. This will depend on your internet download speed. If you don’t know your internet download speed, run a quick Google speed test to see how fast your internet is. Find out your download MBPS number and set the bitrate just under this value to ensure a clean connection.
We’ll need to remote into your virtual machine again (or just use Parsec if you connected it). Once you are connected, go to open-stream.net in a browser, download the application, and install it. Find the location of the application folder, find the application and run it. Hit the “Configure” button and choose on of the encoders that go with your GPU – either AMD or NVIDIA.
Minimize your Windows Remote Desktop and go back to Moonlight on your local PC. Hit the PC plus icon in the top right corner. This will start the process to add your cloud PC to Moonlight. It will first want you to add the IP address of your cloud PC. If you don’t remember it, it will be in your AirGPU account.
Your AirGPU PC will be added to Moonlight and you will need to pair it while logged in for security reasons. The prompt will give you a number for verification. Copy that number and go back to the Windwos Remote Desktop and enter that number into Open Stream to complete the pairing. Now your cloud PC should be usable through Moonlight. Close Windows Remote Desktop and connect through Moonlight.
Quitting you AirGPU Session
Once you are finished using your cloud PC, Hit Ctrl + Alt + Shift + Q to end your session on Moonlight or if you are using Parsec, use the Parsec menu to disconnect to exit to your desktop.
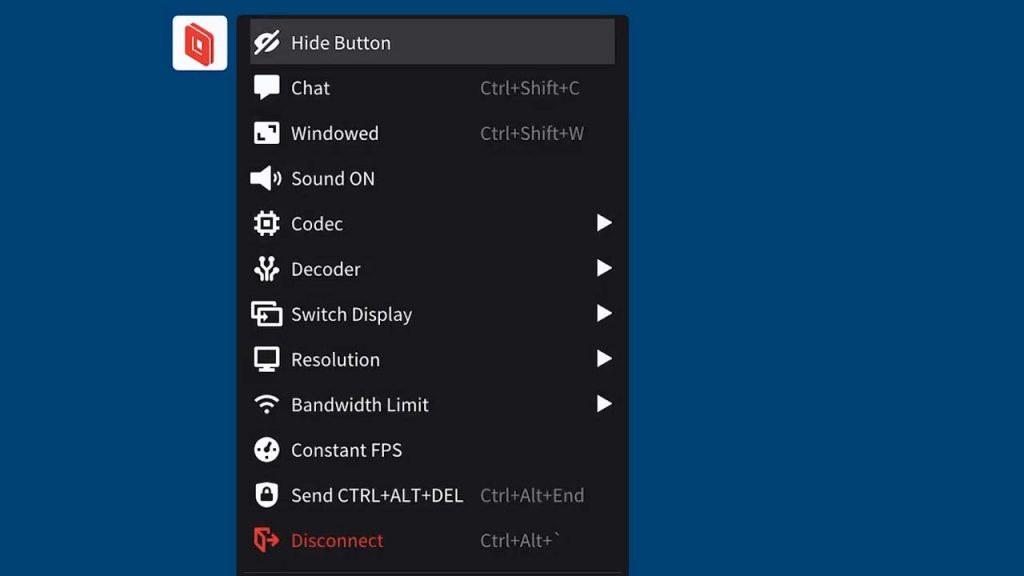
Go back to your dashboard on the AirGPU website so you can make sure that the cloud PC is stopped so they don’t continue to charge you since they charge by the hour for usage.
Overview
I highly suggest looking through the documentation of these streaming app – Parsec and Moonlight so you know how to operate your virtual cloud PC effectively. Parsec has an on screen menu but Moonlight does not so you’ll have to memorize the key-bindings. Feel free to install anything you want and play like this is a PC at home with AirGPU! When you signup, make sure to use the promo code during payment located in the description.
If you liked this AirGPU walkthrough, give us a like and feel free to subscribe so you can get the latest news, gameplay, and comparisons on Cloud gaming at the only place where you can do battle in gaming heaven – Cloud Gaming Battle.

